Videography Background and Lighting: A Guide to Professional Video Editing
In professional videography, the combination of a well-planned background and proper lighting can elevate your content’s visual appeal and overall quality. Whether you're filming tutorials, interviews, or cinematic videos, paying attention to these elements ensures your footage looks polished and professional. Additionally, with the right video editing techniques, you can enhance or correct backgrounds and lighting in post-production.
This guide explores how to design, light, and edit backgrounds effectively for professional videography.

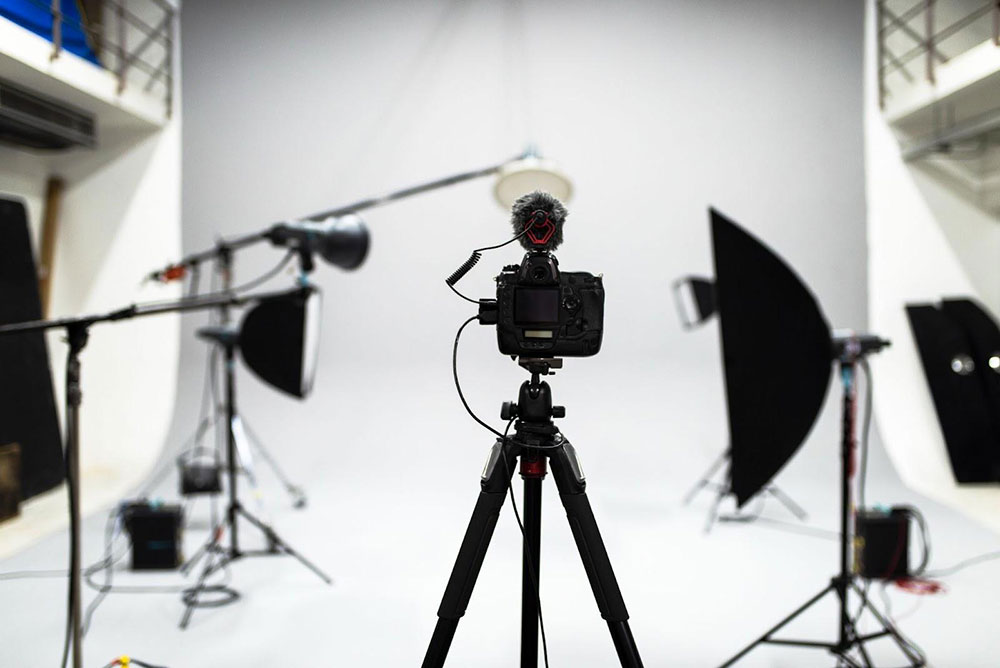
Image credit: fxhome
1. Why Background and Lighting Matter
- Set the Mood: Together, they create the visual tone and atmosphere of your video.
- Focus Attention: Proper lighting ensures your subject is well-highlighted, while a clean background keeps distractions minimal.
- Enhance Professionalism: A well-lit subject against a purposefully chosen background conveys attention to detail and production value.
2. Choosing the Right Background
2.1 Real Backgrounds
Home Studio Setup:
- Arrange neat, organized elements like shelves, decor, or furniture to create an intentional aesthetic.
- Use props relevant to your niche (e.g., books for educational content, gadgets for tech reviews).
Outdoor Locations:
- Leverage natural landscapes or urban environments.
- Scout for visually appealing and uncluttered settings.
2.2 Artificial Backgrounds
Green Screen:
- Enables replacing the background with virtual environments or custom visuals.
- Works best with consistent lighting to avoid shadows and ensure clean keying.
Plain Backdrops:
- Use solid-colored walls or fabric backdrops for a minimalist and distraction-free look.
- White, black, or neutral gray are versatile options.
3. Lighting Techniques for Videography
3.1 Three-Point Lighting Setup
This classic setup ensures your subject is well-lit and the background is balanced:
- Key Light: The primary source of light, positioned at a 45-degree angle to the subject.
- Fill Light: Reduces shadows created by the key light, placed on the opposite side.
- Backlight (or Hair Light): Separates the subject from the background, adding depth.
3.2 Natural Light
- Golden Hour: Soft, warm lighting during sunrise or sunset is ideal for outdoor shoots.
- Diffused Light: Use curtains or diffusers to soften harsh sunlight and reduce shadows.
3.3 Practical Lighting
- Incorporate lamps, fairy lights, or LED strips to add character and ambiance to the background.
3.4 Color Temperature
- Use warm tones (2700K–3200K) for cozy or dramatic settings.
- Opt for cool tones (5000K–6500K) for professional or clean looks.
4. Combining Background and Lighting
Create Depth:
- Position the subject a few feet away from the background to avoid harsh shadows.
- Use backlighting to separate the subject from the background.
Balance Brightness:
- Ensure the background lighting doesn’t overpower the subject lighting.
- Dim or adjust background lights to maintain focus on the subject.
Add Texture:
- Use elements like plants, textured walls, or patterned fabrics to make the background visually interesting.
5. Editing Backgrounds and Lighting
5.1 Software for Editing
- Adobe Premiere Pro: Advanced tools for color grading, background replacement, and lighting corrections.
- Final Cut Pro: Ideal for professional-level color adjustment and motion tracking.
- DaVinci Resolve: Renowned for its powerful color grading features.
- CapCut: Beginner-friendly for mobile editing with AI-powered background removal.
5.2 Correcting Backgrounds
Green Screen Keying:
- Use chroma key tools to replace or refine green screen backgrounds.
- Ensure edges are smooth and lighting matches the replacement background.
Blur Effects:
- Add a shallow depth-of-field effect by blurring the background to emphasize the subject.
Enhancing Background Colors:
- Use color grading tools to adjust brightness, contrast, and saturation.
5.3 Adjusting Lighting in Post-Production
- Color Correction:
- Balance exposure, contrast, and white balance to fix overexposed or underexposed areas.
- Light Leaks and Effects:
- Add light flares or bokeh effects to enhance ambiance.
- Dynamic Range Adjustment:
- Use HDR tools to recover details in highlights and shadows.
6. Common Mistakes and How to Avoid Them
Overexposed Backgrounds:
- Solution: Use ND filters during filming or adjust exposure in post-production.
Shadows on the Background:
- Solution: Position lights and the subject far enough from the backdrop to eliminate shadows.
Mismatched Lighting:
- Solution: Ensure consistent lighting temperature and intensity between the subject and background.
Cluttered Backgrounds:
- Solution: Remove unnecessary objects or use a solid-colored backdrop.
7. Tools and Accessories for Professional Backgrounds and Lighting
Cameras and Lenses
- DSLRs and Mirrorless Cameras:
- Sony A7 III, Canon EOS R6, or Panasonic GH5.
- Lenses:
- Wide aperture lenses (e.g., f/1.8) for a blurred background effect.
Lighting Gear
- Ring Lights:
- Ideal for even, soft lighting in vlogs or tutorials.
- Softbox Lights:
- Diffuse harsh light for a professional look.
- LED Panels:
- Adjustable brightness and color temperature for versatility.
Background Materials
- Green Screens:
- Collapsible or wall-mounted options for easy use.
- Fabric Backdrops:
- Durable, wrinkle-free materials in various colors and patterns.
8. Examples of Professional Background and Lighting by Video Type
- Interviews:
- Use a clean, professional background with soft three-point lighting.
- Product Reviews:
- Highlight products with neutral or branded backdrops and focused lighting.
- Vlogs:
- Combine cozy, personalized backgrounds with practical lighting.
- Cinematic Content:
- Experiment with textured or dynamic backgrounds and dramatic lighting setups.
Conclusion
Mastering videography backgrounds and lighting is essential for creating professional-quality videos. By combining thoughtful setup, creative lighting techniques, and effective editing, you can enhance your content and captivate your audience. Whether you’re working with real or virtual backgrounds, attention to detail will set your videos apart and leave a lasting impression.
Source
Videography Background and Lighting: A Guide to Professional Video Editing: https://www.synthesia.io/post/lighting-for-video

